
Understanding Why You’re Being Charged
The first step in tackling any overdraft fee is to understand precisely why you incurred it. Overdraft fees, while frustrating, are typically a consequence of your account balance dipping below zero when a transaction attempts to clear. This can happen in several ways, and recognizing the trigger is crucial for preventing future occurrences and potentially disputing the charge. You’re essentially a detective in your own financial life, and the clue here is the transaction that pushed you into the red.
Identifying the Overdraft Event
To identify the overdraft event, you’ll need to examine your recent bank statements or online banking portal. Banks usually provide a detailed transaction history, often organized by date. Look for transactions that were processed after your account balance had already reached or fallen below zero. It’s important to distinguish between pending transactions and posted transactions. A pending transaction might not immediately reduce your available balance, but it can still trigger an overdraft if it posts when your balance is insufficient. Conversely, a posted transaction is one that has officially cleared and is reflected in your account balance.
The Role of Available Balance vs. Ledger Balance
A common point of confusion, and a frequent cause of surprise overdraft fees, lies in the difference between your “available balance” and your “ledger balance.” Your ledger balance is the actual amount of money in your account. Your available balance, however, is your ledger balance minus any pending transactions or holds that the bank has placed on your funds. For example, if you have $500 in your account (ledger balance) but have a $200 hold for a hotel reservation and a $50 pending grocery purchase, your available balance might only be $250. If you then swipe your debit card for $275, it might not trigger an overdraft based on your available balance, but if the grocery purchase posts before the debit card transaction, you could still incur an overdraft fee. Understanding this distinction is paramount.
Different Types of Overdraft Coverage
Banks offer different types of overdraft coverage, and your chosen method significantly impacts how and when fees are applied. Some accounts may have automatic overdraft protection linked to a savings account or a line of credit. In this scenario, if your checking account goes negative, the bank automatically transfers funds from your linked account to cover the shortfall, usually for a smaller transfer fee rather than a full overdraft fee. Other accounts may not have this protection, meaning any transaction that exceeds your available balance will be declined or, if the bank has an overdraft service enabled, it will be paid and an overdraft fee will be charged. It’s essential to know which type of overdraft coverage you have, or if you even have it activated.
If you’re looking for guidance on how to trace an overdraft fee, you might find it helpful to read a related article that provides insights into managing your bank account effectively. Understanding the nuances of overdraft fees can save you money and help you maintain better control over your finances. For more detailed information, check out this article on financial management strategies at How Wealth Grows.
Scrutinizing Your Bank Statement for Details

Once you’ve identified the general timeframe of the overdraft, it’s time to zoom in on your bank statement. This document is your primary evidence, and a thorough examination will reveal the specific transaction(s) that led to the fee. Don’t just glance; read each line item with a critical eye.
Locating the Specific Transaction(s)
Navigate to your account statement, usually accessible through your bank’s website or mobile app. Most statements are organized chronologically. Look for the date your balance dropped below zero. The transaction that caused this dip is your culprit. It could be a debit card purchase, an ATM withdrawal, a check that has finally cleared, an online bill payment, or even a recurring subscription service that debited your account. Pay close attention to the transaction description. Sometimes, the description might be abbreviated or unclear, requiring you to cross-reference with receipts or other records.
Understanding Transaction Dates vs. Posting Dates
A key detail to note is the difference between a transaction date and a posting date. The transaction date is when you initiated the transaction (e.g., when you swiped your card). The posting date is when the bank officially processes that transaction and it affects your account balance. If a transaction has an earlier transaction date but a later posting date, it could be that it posted after another transaction had already depleted your funds, thus triggering the overdraft. This chronological nuance is critical when reconstructing the events leading to the fee.
Identifying the Fee Itself
On your statement, the overdraft fee will be clearly itemized. It will typically be labeled as “Overdraft Fee,” “NSF Fee” (Non-Sufficient Funds Fee), or a similar designation. Note the exact amount of the fee and the date it was applied to your account. This will be the figure you’ll be aiming to get refunded if you have a valid case. Sometimes, banks might charge multiple overdraft fees for a single overdraft event if several transactions are processed that exceed your available balance. It’s crucial to identify each individual fee charged.
Building Your Case for a Fee Dispute

Armed with the knowledge of when and why the overdraft occurred, you can now begin to build your case for disputing the fee. This involves gathering evidence and constructing a logical argument that explains why you believe the fee should be waived or refunded.
Reviewing Your Bank’s Overdraft Policy
Before you contact your bank, it’s crucial to understand their specific overdraft policy. This information is usually available on their website, in your account agreement, or by calling customer service. Pay attention to details like the grace period for overdrafts, the number of fees they typically allow before escalating, and any circumstances under which they are willing to waive fees. Knowing their rules of engagement will help you tailor your request. For instance, some banks have a policy of waiving the first overdraft fee of the year as a courtesy.
Determining if the Fee Was Applied in Error
There are several scenarios where an overdraft fee might have been applied in error. Did the bank miscalculate your available balance? Was a pending transaction incorrectly categorized? Did a transaction post on a weekend or holiday when your bank was closed, leading to an incorrect balance calculation? If you can identify a clear error on the bank’s part, your case for a refund becomes significantly stronger. Document any discrepancies you find between your own records and the bank’s statement.
Gathering Supporting Documentation
If you believe the fee was an error or are seeking a courtesy waiver, having supporting documentation is vital. This could include:
- Your bank statements: Highlight the relevant transactions and the overdraft fee.
- Receipts or transaction confirmations: For purchases that may have contributed to the overdraft.
- Records of communication with the bank: If you’ve previously discussed overdrafts or contacted them about this specific fee.
- Screenshots: If you have online banking screenshots that show a discrepancy in your balance calculation.
Establishing a History of Good Standing
If you are a long-time customer with a good banking history, your chances of having an overdraft fee waived are often higher. Banks value loyal customers and may be more willing to offer a courtesy refund to retain your business. If you can demonstrate a pattern of responsible account management, with few or no prior overdrafts, highlight this to the bank representative. This demonstrates that the overdraft was an unusual occurrence and not a habit.
Contacting Your Bank to Resolve the Fee
Now it’s time to put your case forward. The goal is to communicate clearly, politely, and effectively to achieve the best outcome.
Choosing the Right Contact Method
You have several options for contacting your bank:
- Phone: This is often the most direct way to speak with a customer service representative. Be prepared for potential hold times.
- In-person: Visiting a local branch can be effective, especially if you have a good relationship with the branch staff.
- Secure Message: Many banks offer secure messaging through their online banking portal. This creates a written record of your communication.
- Email: While less common for direct fee disputes, some banks may have dedicated customer service email addresses.
The best method often depends on your personal preference and the bank’s typical responsiveness. For an initial dispute, a phone call or in-person visit can be more effective for conveying tone and urgency.
Initiating a Conversation with a Representative
When you speak with a representative, be calm and clear. State your name, account number, and the purpose of your call. For example, “Hello, my name is [Your Name], and I’m calling about an overdraft fee that was charged to my account ending in [Last 4 digits of account number] on [Date of Fee].” Clearly explain the situation as you understand it and present your evidence.
Presenting Your Case Concisely and Politely
Avoid accusatory language. Instead, focus on the facts and how they led you to believe the fee was applied incorrectly or should be waived. For example, instead of saying, “Your bank made a mistake,” try “I believe there may have been a misunderstanding with how my available balance was calculated for this transaction.” Use phrases like “I’ve reviewed my statement,” “According to my records,” and “I’m hoping you can help me understand.”
Navigating Customer Service and Escalation
You may not always get a satisfactory resolution from the first representative you speak with. If you feel your concerns aren’t being heard or addressed properly, politely ask to speak with a supervisor or manager. This is not a sign of aggression, but a proactive step to ensure your issue receives the appropriate attention. Supervisors often have more authority to make decisions regarding fee waivers.
If you’re looking to understand how to trace an overdraft fee, it’s essential to familiarize yourself with your bank’s policies and transaction history. Many banks provide detailed statements that can help you identify when and why the fee was applied. For a comprehensive guide on managing your finances and avoiding such fees in the future, you might find this article helpful. Check out this resource for more insights on financial management here.
Preventing Future Overdraft Fees
| Step | Action | Details | Estimated Time | Tools Needed |
|---|---|---|---|---|
| 1 | Review Bank Statement | Check your recent bank statements for any overdraft fees and identify the date and amount. | 10-15 minutes | Bank statement (online or paper) |
| 2 | Identify Transactions Causing Overdraft | Look for transactions that caused your balance to go below zero. | 15-20 minutes | Bank statement, transaction history |
| 3 | Check Account Balance History | Verify your account balance before and after each transaction to confirm overdraft occurrence. | 10-15 minutes | Online banking portal or bank app |
| 4 | Contact Bank Customer Service | Call or visit your bank to inquire about the overdraft fee details and request clarification if needed. | 10-30 minutes | Phone or bank branch |
| 5 | Request Fee Reversal (if applicable) | Politely ask if the bank can waive or reverse the overdraft fee, especially if it is your first time. | 5-10 minutes | Phone or email |
| 6 | Set Up Alerts | Configure account alerts to notify you when your balance is low to avoid future overdrafts. | 5-10 minutes | Online banking portal or bank app |
Once you’ve navigated the current overdraft fee, the most important step is to implement strategies to prevent them from happening again. This is about taking control of your finances and avoiding unnecessary charges.
Proactive Account Monitoring
Make it a habit to regularly check your account balance. This doesn’t mean checking it every time you buy a coffee, but a daily or every-other-day check can prevent surprises. Utilize your bank’s mobile app or online banking for quick and easy access. Set up low-balance alerts if your bank offers them. These notifications can give you a heads-up when your account is approaching a critical level.
Understanding Your Spending Habits
Overdrafts often stem from a disconnect between your spending and your available funds. Take time to understand where your money is going. Track your expenses, create a budget, and be realistic about your financial situation. If you find yourself consistently close to your overdraft limit, it might be time to re-evaluate your spending or look for ways to increase your income.
Utilizing Budgeting Tools and Apps
There are numerous budgeting apps and tools available that can help you visualize your spending, categorize expenses, and project future account balances. Some apps can even link to your bank accounts and provide real-time updates. By using these tools, you gain a clearer picture of your financial health and can make more informed spending decisions.
Exploring Overdraft Protection Options
As discussed earlier, many banks offer overdraft protection linked to savings accounts or lines of credit. If you don’t have this already, explore these options with your bank. While there might be a small fee for the transfer, it’s typically much less than a standard overdraft fee. Alternatively, consider setting up a direct deposit that splits your paycheck between your checking and savings accounts, ensuring a buffer in your checking account.
Adjusting Automatic Payments
Automatic payments for bills and subscriptions can be convenient, but they can also be a surprise source of overdrafts if not managed carefully. Review all your automatic payments, including their due dates and amounts. Ensure you have sufficient funds in your account when these payments are scheduled to clear. Consider staggering payment dates or adjusting subscription services if they are consistently straining your finances.
Setting Financial Goals
Having clear financial goals can be a powerful motivator for better money management. Whether it’s saving for a down payment, paying off debt, or building an emergency fund, setting specific targets can help you prioritize your spending and avoid unnecessary fees like overdraft charges. When you have a tangible goal, the impact of each dollar saved becomes more significant, making you less likely to incur costly fees that derail your progress.
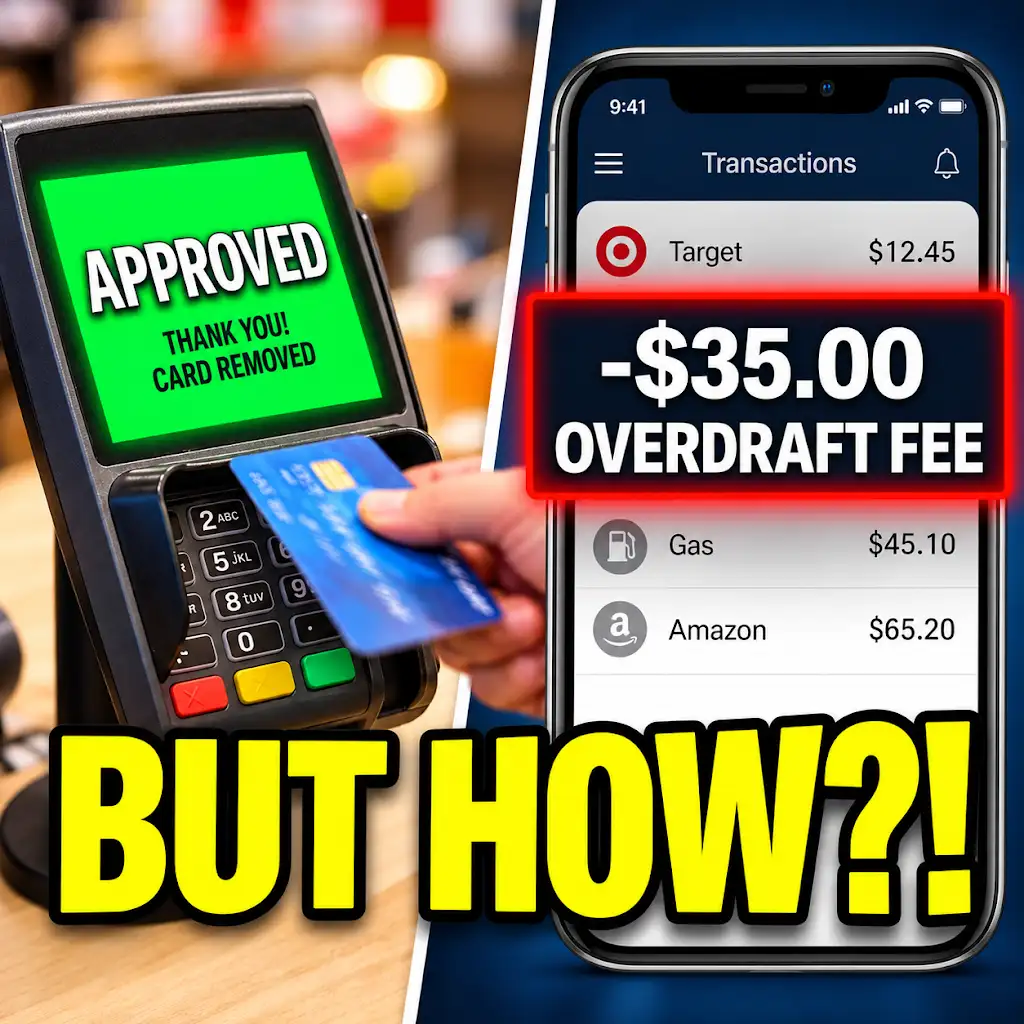
Approved at Checkout… Fee the Next Morning? Why Banks Do This.
FAQs
What is an overdraft fee?
An overdraft fee is a charge imposed by a financial institution when a customer’s account balance goes below zero, and the bank covers the transaction on their behalf.
How can I trace an overdraft fee on my bank statement?
To trace an overdraft fee on your bank statement, look for a line item that indicates the fee charged, typically labeled as “overdraft fee” or “NSF fee.”
Can I dispute an overdraft fee if I believe it was charged in error?
Yes, you can dispute an overdraft fee if you believe it was charged in error. Contact your bank’s customer service to inquire about the process for disputing fees.
What are common reasons for incurring an overdraft fee?
Common reasons for incurring an overdraft fee include making a purchase that exceeds your account balance, writing a check that bounces, or setting up automatic payments without sufficient funds in your account.
Is there a way to avoid overdraft fees in the future?
To avoid overdraft fees in the future, consider setting up account alerts to monitor your balance, linking a savings account for overdraft protection, or opting out of overdraft coverage for debit card transactions.